I saw this method on some pattern somewhere, but I have since forgotten where. I don’t take credit for this Method of Short Rows. There is no wrapping, and no holes.
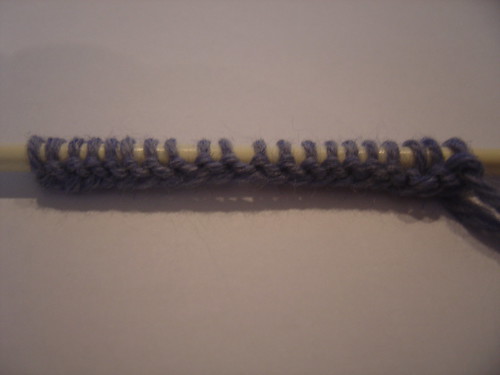
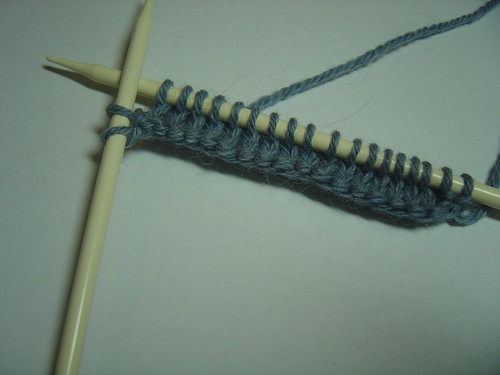
Start off with your heel stitches on one needle (I just cast on for the purpose of the tutorial, but these would be the heel stitches of your sock):
Slip the first stitch purlwise (and every time you slip a stitch, slip it purlwise), knit to one stitch before the end:
Turn, slip the first stitch, purl to one before the end:
Turn, slip the first stitch, knit to 2 before the end:
Turn, slip the first stictch, purl to two before the end:

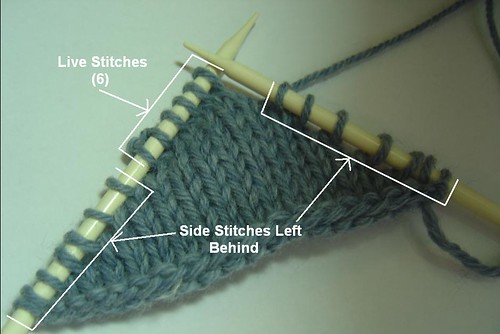
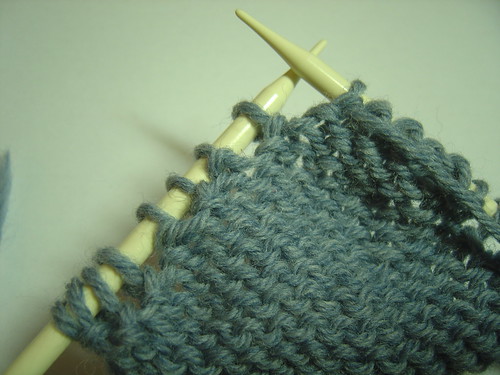
Keep Going like this, turning, slipping the first stitch, and knitting to 3 before the end, than 4, than 5, and so on and so forth, each time you’ll be leaving a stitch behind and havin less and less stitches to knit. Keep going until you’ve got however many stitches you want to stop at (I did 6 or so, but a standard sock might be 10 or 12, whatever you want, really.)
Your work should look something like this:
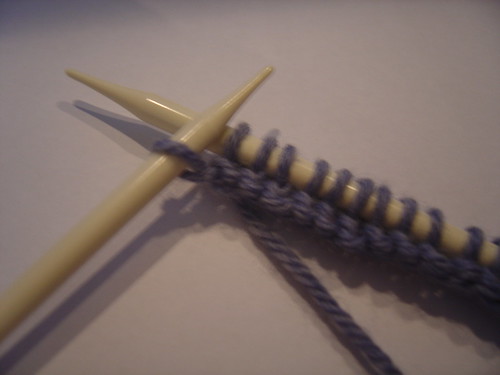
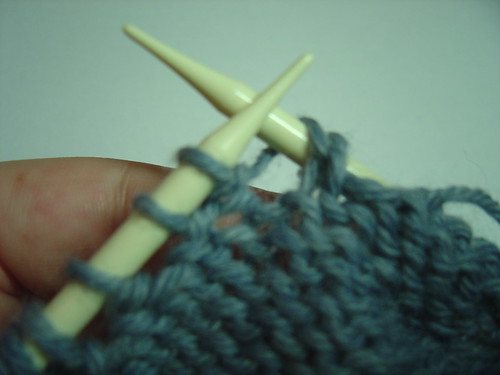
Ok, so.. You should be ready to do a knit row. Slip the first stitch, knit to one stitch before the gap:

Slip the stitch before the gap onto the right hand needle, pick up the bar running between the gap and put it on the right hand needle:
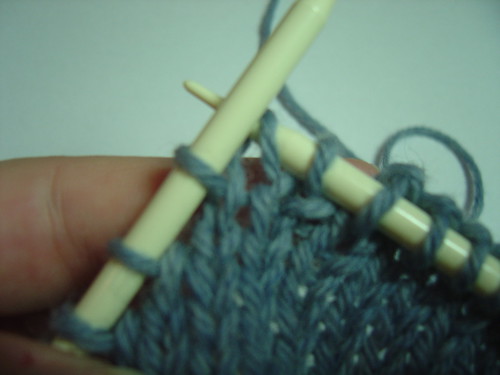
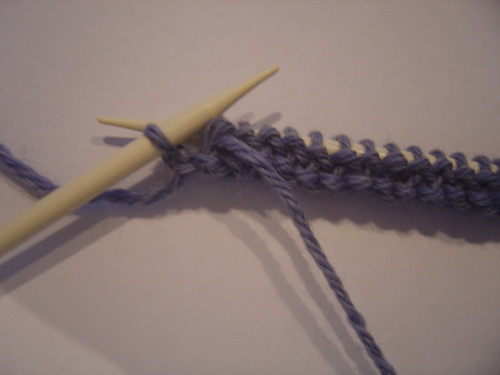
Insert the left needle through the front of the 2 stitches on the right hand needle and knit the slipped stitch and the picked up bar together, as if doing and SSK decrease:
And thats how you close a gap on the right side. Now turn, slip the first stitch, and purl to one stitch before the gap:
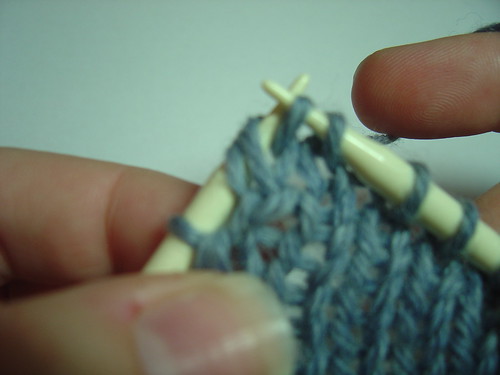
Slip the stitch before the gap, pick up the bar running between the gap, and put it on the right hand needle:
Insert your left needle through the back of the 2 stitches and purl them together.
And that’s how you close the gap on the purl side. Here are videos to help you out.
On the Knit Side:
On the Purl Side:
Keep going like that, Turning, slipping the first stitch, knitting to the stitch before the gap, slipping it, picking up the bar, and knitting them together, until you've closed all the gaps.

And You've finished your heel. Here's how it looks on the side:

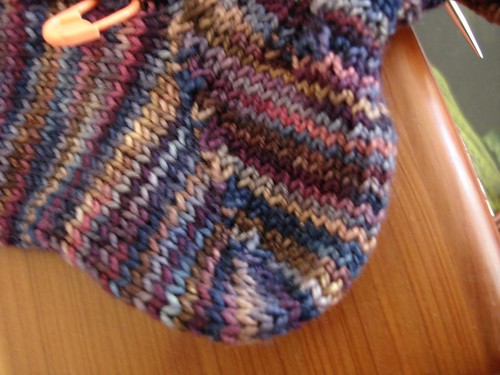
And here’s how it looks knit on a real sock: